Here is the card that I made for my acetate & tissue technique swap. I posted the written instructions previously but thought it would be good idea to show the step by step instructions.
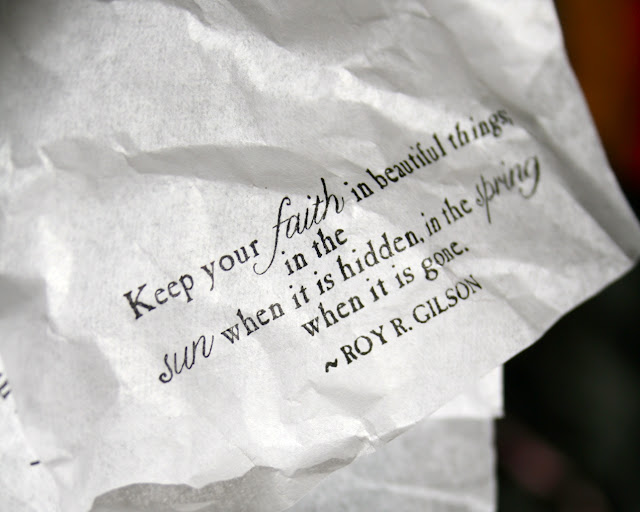
I started by stamping the sentiment directly onto the tissue paper using Stazon. This was just to demonstrate that you could stamp onto the tissue paper instead of the window sheet (acetate) with the same results.
I then stamped the image onto the window sheet using Stazon. As you can see my window sheet was much larger than my image to try to minimize the mess. (You can always trim it down.)
I applied the Crystal Effects liberally to the back of the window sheet, added a few drops of ink and used a piece of scrap paper to mix the ink and Crystal Effects together. You can also use rubber gloves.
After the ink was throughly mixed into the Crystal Effects I turned the window sheet over and placed it onto the tissue paper which was sitting on crumb cake (kraft) card stock. Using my fingers, I pressed down on the window sheet to spread the mixture out under the window sheet to create different patterns and depths of colors. If you use enough Crystal Effects it will soak through the tissue paper and adhere everything to the window sheet.
After letting the Crystal Effects dry (30 min to overnight) you can trim the window sheet down to the desired size. If for some reason the tissue paper or the card stock is not fully adhered to the window sheet you can add more Crystal Effects; it won't ruin the effect.


Great tutorial and the effect is stunning!
ReplyDeleteInteresting effect, is the windowpane just a piece of transparency like we used to use on overhead projectors?
ReplyDeleteLyn