Here's the first in a series of cards that I made using the mummy from the Googly Ghouls stamp set. I used mostly scraps and added texture to the pumpkin cardstock using a texture plate; different from an embossing folder. If you're interested in getting more texture out of your texture plate you should watch this video for a great tip.
Translate
Wednesday, September 19, 2012
Sunday, September 16, 2012
Googly Ghouls Stamp Set
This mummy is from the 2012-2013 Holiday Catalog. He was sooo cute that I went ahead and mass produced him for my upcoming card swap. You can purchase him along with his friends in a kit available through Stampin' Up! Click here to view. Stay tuned for my card swap and a few other Halloween treats using this little guy.
Saturday, September 15, 2012
One Sheet Wow - Halloween Box
I made this box using one sheet of Ghostly Greetings Designer Series Paper (retired). This would be great for holding lots of sweet treats. I got the idea from fellow demonstrator Rebekah Harwood. You can watch her YouTube video here. If you're interested in seeing the current Halloween themed DSP click here.
Sunday, September 9, 2012
What's On Your Desk? Challenge!
This card was made using scraps from my desk. I started with the negative space left over from a circle that I had cut for a previous project and a butterfly whose wings were cut off on the right side. I added some scraps of paper and a paper flower that I thought was too mangled to use until now. If you'd like to participate in the challenge go over to Kristina Werner's blog.
Friday, September 7, 2012
**Bonus Tag** - 12 Tags of 2012
Although I loved the original tag I made for September, I really wanted to try the foil technique. So, I went searching through the garage and found some foil tape. This turned out to be really awesome stuff. I didn't have any alcohol ink so I used black StazOn which I managed to spread over the foil before it dried. I also had a leftover silhouette image from August's tag that I really wanted to use but I was having a hard time seeing the image when I placed it directly on the foil. To solve the problem I chose a piece of burlap ribbon to contrast the hard industrial look of the foil. Once again all the paper and embellishments are from Stampin' Up!. The foil and burlap ribbon are not.
Thursday, September 6, 2012
Technique #7 - Kissing
This month we used the kissing technique to create a two-toned pattern on the butterflies using two inks and two stamps. The technique works best when you use a fairly solid stamp and a complimentary background stamp to create the pattern. Instructions are at the bottom of the post. (Please note: the sentiment is not from Stampin' Up!)
Saturday, September 1, 2012
Tim Holtz - 12 Tags of 2012 (September)
The theme of this month's tag is faux industrial metal. Using all Stampin' Up! products, I applied multiple layers of copper embossing powder until it was thick enough to stay warm and accept a rubber stamp impression. I applied black StazOn to the edges of the tag to give it a worn or dirty look. Since I didn't have any actual gears to attach I used a gear stamp both in the background and on a black piece of cardstock.
Wednesday, August 29, 2012
Virginia Tech Hokies Doodle
I've been seeing a lot of doodles on Pinterest lately and have been amazed by many of the images. I've also seen the term zentangle which is apparently a more structured or organized doodle. So I figured I'd give it a try. I used a black gel marker and Stampin' Up! watercolor pencils. Go Hokies!
Saturday, August 25, 2012
Embossed Embossing Swap
For this month's technique swap I used versamark to highlight one of the embossed chevron rows and then applied clear embossing powder. Then I stamped the shell background using the By the Seashore set and covered the image with a piece of vellum to tone down the dark color. The crab came from the same set and was cut out by hand.
Sunday, August 12, 2012
Tim Holtz - 12 Tags of 2012 (August)
This month's tag involved using a cameo or silhouette type image with a frame. I started with basic gray textured card stock and used a texture plate in my big shot to add a slightly raised grid pattern. I then embossed portions of the grid with black embossing powder. The silhouette and the frame were cut out of basic black cardstock with my silhouette. I then used several stampin' up! punches to create the flowers and the petals. I finished the card by sponging silver ink over the frame, the flowers and the rhinestones.
Saturday, August 4, 2012
Technique #6 - Embossed Embossing
This month's technique involves embossing cardstock that has been textured with an embossing folder. A brayer was used to apply the versmark to the raised areas of the textured pattern. If you don't have a brayer you can carefully swipe the versamark over the raised areas before applying the clear embossing powder.
Friday, July 27, 2012
Vintage Sewing Pattern Tag
Several months ago I made a tag using a vintage sewing pattern that I had purchased on Etsy. The tag below was made with one of the leftover tissue paper prints. I used a marker to color in the dress and applied some cutouts from a scrap of patterned paper. I adhered the print to a piece of crumb cake card stock and sponged the edges.
Sunday, July 15, 2012
Vintage Faceted Button
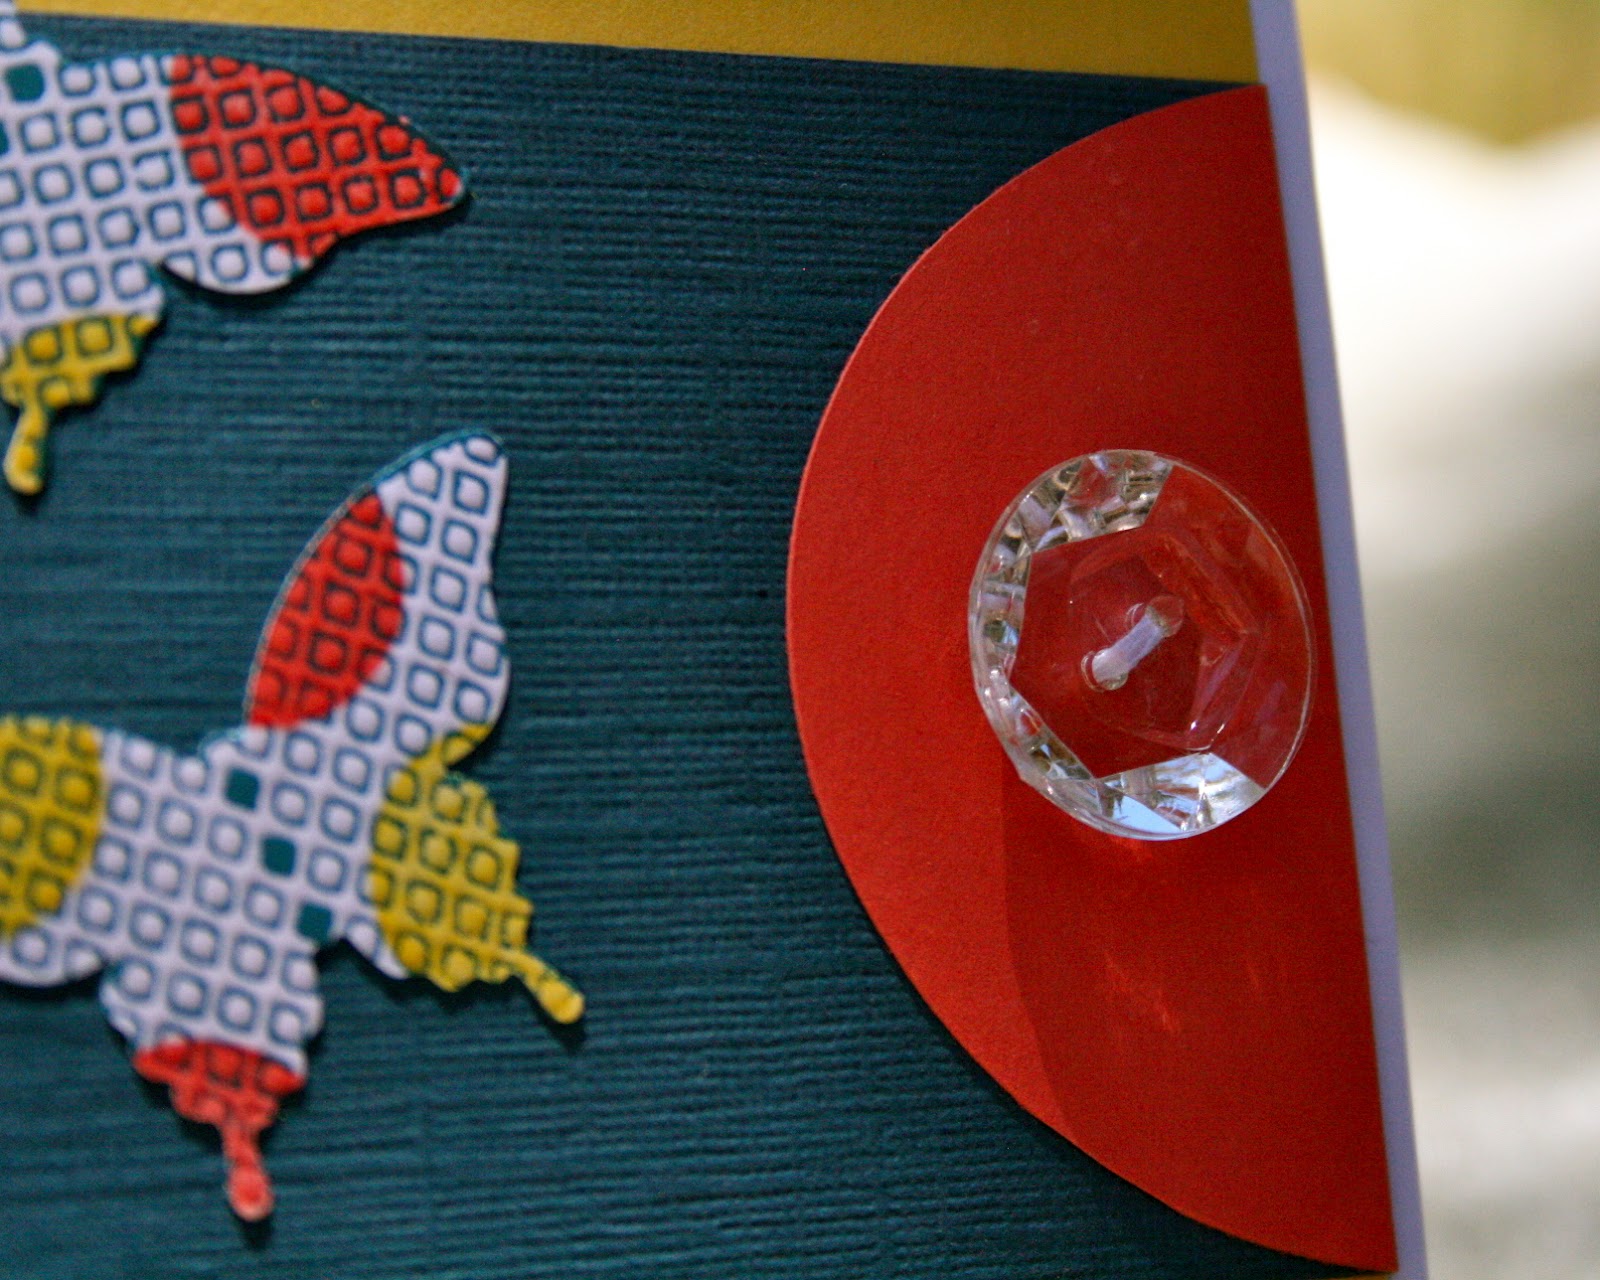
Today's card features the butterflies from yesterday's emerging color technique and one of Stampin' Up's new vintage faceted buttons.
Saturday, July 14, 2012
Emerging Color Card Swap
The toughest part of this technique is finding just the right stamp. Ideally you want to use a stamp with a decent amount of surface area but you also want some negative space for the ink to penetrate between the embossed areas. I choose to use the new Papillon Potpourri butterfly stamp set from Stampin' Up! Below I included some step-by-step photos to go along with the previous directions.
I started by stamping solid circles onto whisper white cardstock using daffodil delight and calypso coral ink. Now that I'm looking at it on the screen, I'm thinking that perhaps a patterned paper might also work well for this.
Once I had my background stamped I ran a heat tool over the surface just to make sure the clear embossing powder wouldn't stick to the circles. I then stamped the butterfly images in versamark and applied clear embossing powder.
Next I used a sponge instead of a brayer to go over the embossed images with island indigo ink. I chose to use the sponge because I wanted to control the intensity of the ink so it wouldn't totally wash out the color of the circles.
Here is a closer view of the finished product. The texture on background paper is from the new chevron embossing folder.
Wednesday, July 4, 2012
Tim Holtz - 12 Tags of 2012 (July)
Happy 4th of July! This month I decided to do two tags since I was feeling patriotic. The stamp set is is an oldie but goodie from 2001 called Liberty for All. Once again the stamp set and all the products shown are from Stampin' Up! Unlike most of the country, our weather has been wonderful (i.e., less than 80 degrees) so I took these pictures outside. Enjoy and let me know which tag you like the best.
Saturday, June 30, 2012
Technique #5 - Emerging Color
This month's technique involved embossing over stamped images with clear embossing powder and then finishing off the card with a brayer and raspberry ripple ink. The other "In Color" used was summer starfruit.
Wednesday, June 13, 2012
Burned Batik Swap
Here is my Burned Batik swap for this month. I used lucky limeade and daffodil delight ink over the embossing and accented the card with a matching ribbon. The eiffel tower is from the Artistic Etchings stamp set.
Saturday, June 2, 2012
Tim Holtz - 12 Tags of 2012 (June)
I really enjoyed this month's tag. The two boys in the photo are my husband's uncles from Ireland, Thomas and Sean Walsh. I printed the photo on my inkjet and used Stampin' Write markers to color directly onto the photo to change the color of their shirts. Once again, all products used were Stampin' Up! except for the little piece of film.
Subscribe to:
Posts (Atom)